CAUTION! Huge rabbit hole ahead!

What do you think of when I say 'Flower Loom'? Do you see a brightly coloured children's toy and squeaky acrylic yarn? Well that is not this! This is a complex story which will take us around the globe and as far back in time as the ancient Greeks and Romans. This is the history of fashion and the development of lace, with a bit of sociology thrown in. While we're at it we may make the odd button and flower as well! Are you ready?!
A few posts ago I asked for a definition of lace. Tansy left her definition in the comments; "lace is a fabric with holes in it. (Deliberate holes, of course.) Nothing more, nothing less!" That works for me, so perhaps I should have asked, "why is lace?" Let's face it, lace serves no purpose except ornamentation. To answer this question I found myself back in the 7th century BCE in Greece when what came to be known as Sumptuary laws were first enacted. These laws have been many and varied, as you might imagine. Their importance for us is that they restricted what we could wear based on our social status, even down to what colour and weave of fabric or fur we could use.

Here is a famous image of Elizabeth I. It is packed full of imagery; from the Spanish Armada being wrecked on the top right, to her hand resting on a globe over which, we are to understand, she has dominion. In an age when few people could read, what they saw had to speak volumes. So of course I was wrong when I said, lace serves no purpose. Ornamentation tells us that this person is very rich and very powerful. Her whole dress is made of rich fabrics and smothered in fine time-consuming lace and embroidery, gold and gems.
Now I know why lace exists but not how it came to be created in the first place. How did it come about that someone sat down one day to make a time consuming fragile textile? There are so many types of lace and no doubt the origin of each one is different. The history of Teneriffe lace gives us an insight to how it might have happened.

Our story begins with drawn thread work. This is where some of the threads in a linen fabric are cut and drawn out of the fabric. The remaining threads can then be gathered together to create patterns using a needle. With time the designs got increasingly complex. (My apologies for the image above. It is my own experiment from a sometime ago. It was never intended to be seen by anyone and perhaps explains why I now crochet rather than embroider!)
Eventually
we have found ourselves creating Cut Work, where threads are joined to
the cut fabric and overlaid with button hole stitch. By Tansy's
definition we have created lace! You can see that from here it was no
trouble at all to stop using fabric and just begin with a network of
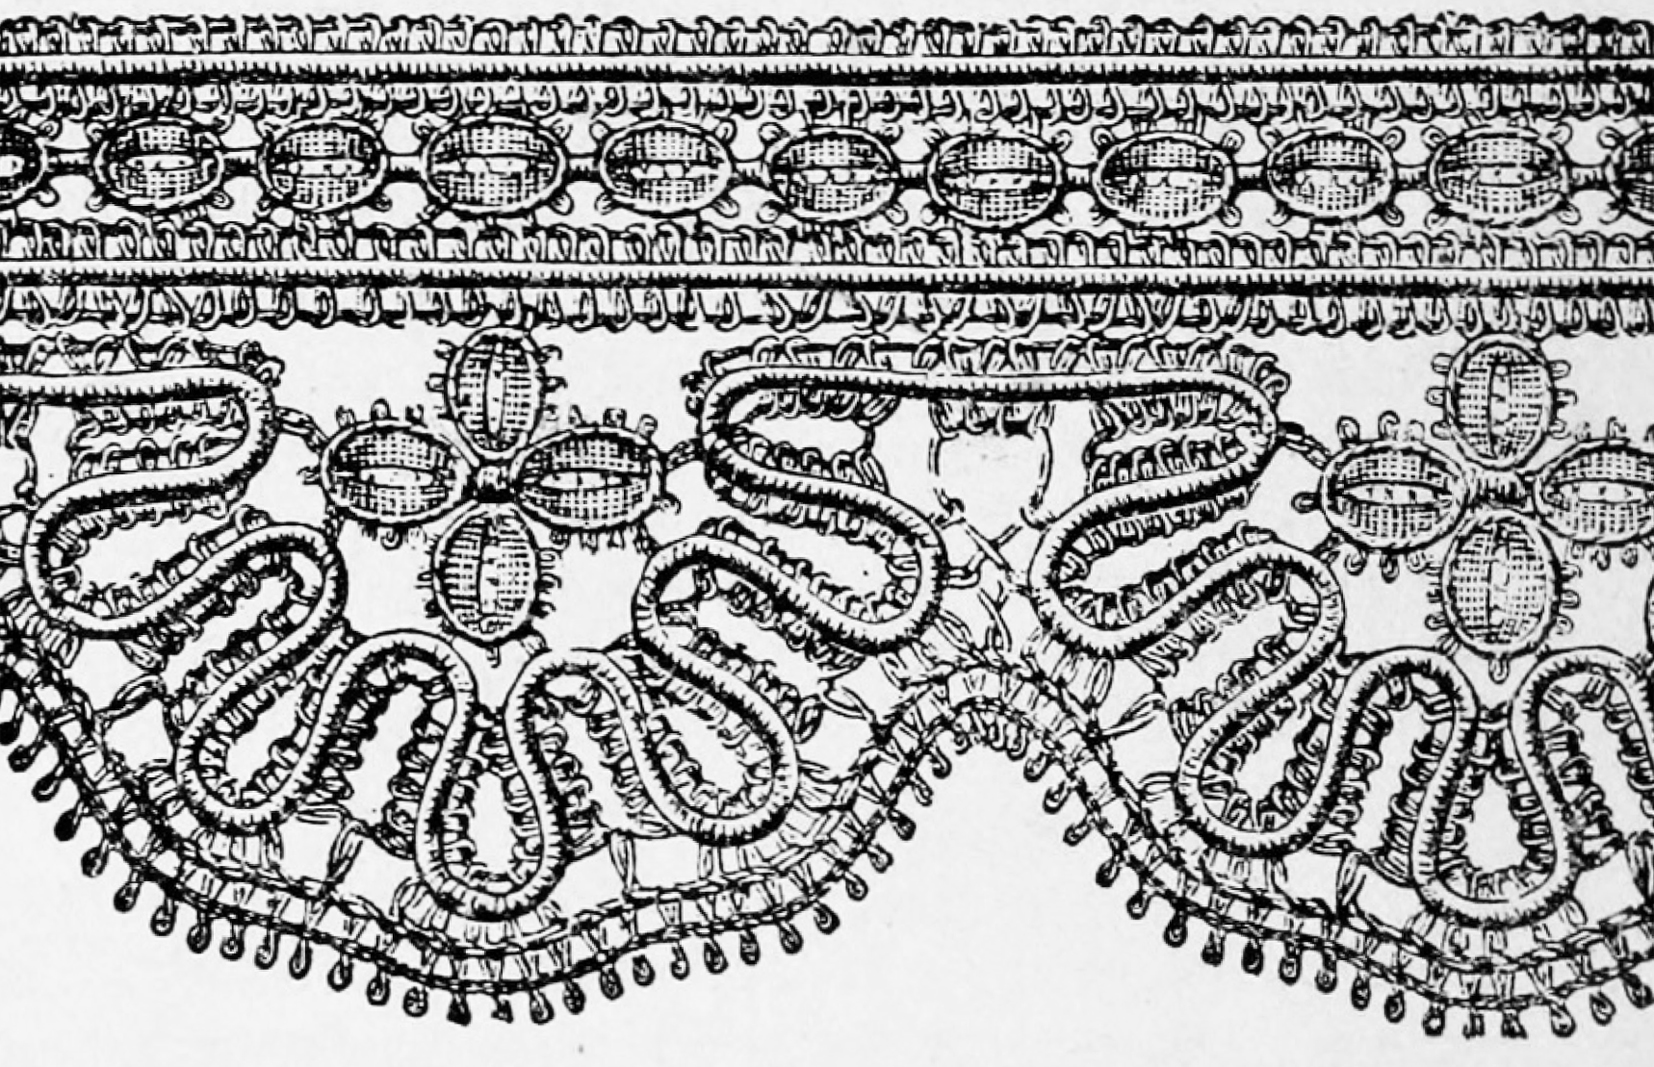
threads. Teneriffe lace is a fine example of how this process works. Beginning in Spain in the 16th century with drawn thread work, becoming 'Sol'-sun and 'Rueda'-wheel cut work. It in turn was carried to South America where it retained the name Sol in Bolivia, Brazil and Peru and became Ñanduti in Paraguay. Eventually the fabric was dispensed with and the lace was worked on pins set in a ring. There is a DMC Therese de Dillmont book dating from 1920. (As she died in 1890 it was clearly not written by her.) It states that the lace is made on cushions, or metal or rubber discs.


Our story is not yet finished! In Dorset buttons were made around brass rings, just like Teneriffe lace in miniature, they date from the 17th century. This skill was taken to Yorkshire where the buttons were stuffed rather than left flat. Not to be outdone, there is also a Lincolnshire button. Before anytime has passed we have found ourselves in the land of Passementerie buttons as well. Let us hurriedly back track before we find ourselves lost for all time! From perhaps the 1920s Teneriffe lace seems to have crossed over into our world of knit and crochet, becoming 'daisy wheel'. It finally sees a resurgence as 'flower loom' in the 1970s, with those acrylic yarn flowers that I seem to remember making as a child!


All that is left for us is to see how and where exactly the crochet comes into our story! Teneriffe lace and flower looms now come in all manner of shapes and sizes. I have armed myself with a very simple plastic loom, so let's try out a few techniques.

My looms come in a simple circle and a square, with one row of pins around the outside. You will also find them with a hole in the middle and additional rows of pins. You may find them small and delicate or large and chunky. In all cases you begin by wrapping the yarn or thread in a sort of figure of 8.

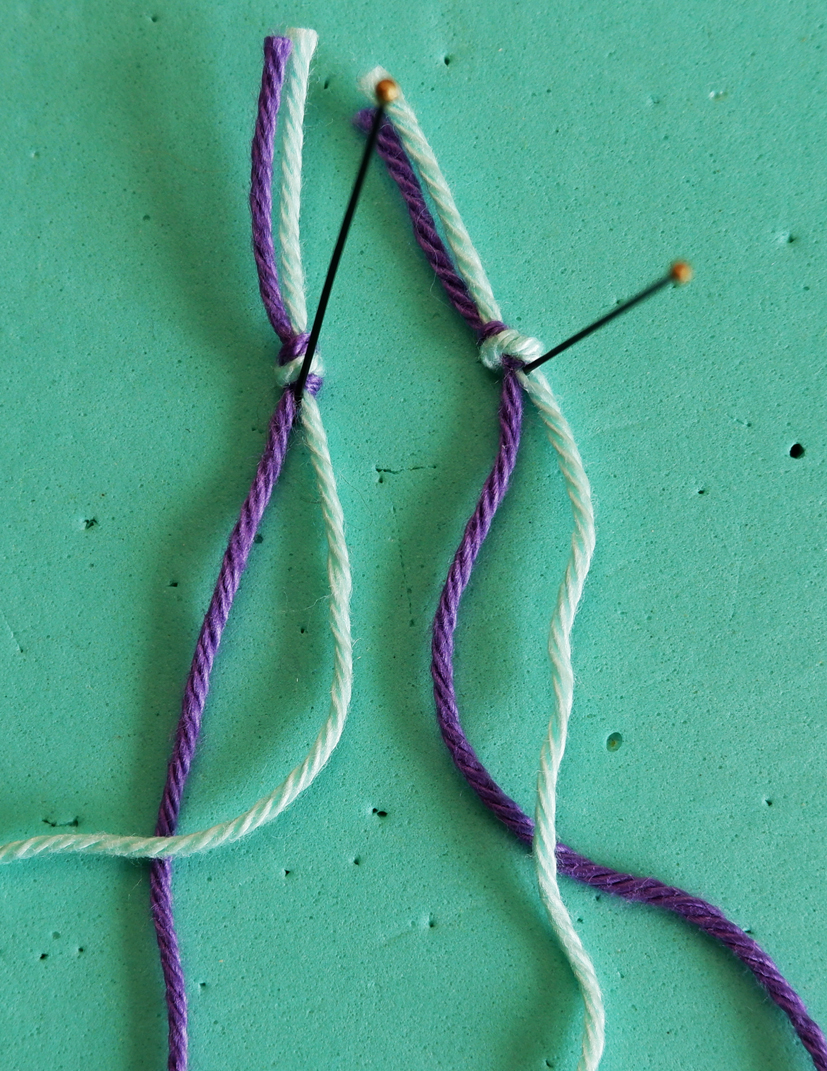
Begin by creating a figure of 8 around two opposing pegs.
Take the yarn straight up to the pin on the right,
Around that pin and straight down to it's opposing pin.
Continue around the loom, you may wrap as many times as you like. Wrapping like this creates a plumper flower.
Or wrap each pair of pegs a number of times before moving to the next pair. This is called a flat wrap.
Now we must secure the centre. There are many alternatives.

To create an open centre thread a needle with the tail end of your yarn, or with a second colour. Bring the needle down through the middle and back up between the threads. You can choose to go between the individual loops (or petals)...
Or into the loops...
Or both...
Continue working around the 'flower'. This technique is easier if you have a loom with an open centre. If you have one like mine then you will find it easier with a flat needle or a bent needle.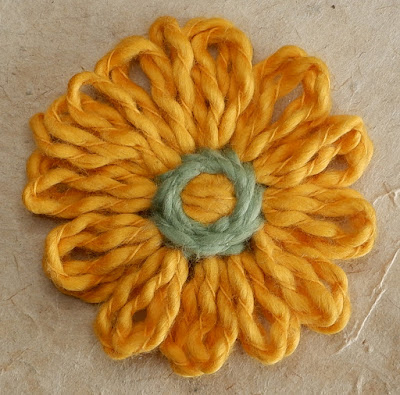 Perhaps you prefer a spiral centre.

In this case the top of the flower is the under side as it sits in your loom. Take your yarn end or second colour. Secure it in the centre. Take the needle under 4 petals, come back over 3, re insert the needle and repeat around the flower. You must do this one time more than the number of pins on your frame. I have 12 pins so I worked the weave 13 times. Fasten off on the back.


A back stitched centre is worked in a similar way. This time the upper side of your flower is the top. When you sew around the flower go under 2 petals and back over one.

For an over sewn centre, simply sew from one side to the other moving systematically around.

A woven centre is made by weaving under one petal and up over the next. When you have completed one whole round bring the needle up through the middle of the next petal. This 'split stitch' will be hidden by the last stitch on this round. Next weave over the petals that were left empty on the last round and under the others.

As this is meant to be a crochet blog, you might instead surface crochet around the flower. For this you will definitely need an open centre frame. I wish I had known that in the beginning! Instead I had to pre thread the working yarn around the flower. You could combine this with your other centres.

Having completed your flower you may use it as it is, or crochet around the edge using it as the centre piece to a patchwork square.

Now you may join your flowers or patchwork pieces in all the usual ways!

Travelling back in time once more we can recreate the art of button making. For these experiments I have chosen a chunky curtain ring. Take a metal ring and blanket stitch tightly around the edge...


Turn the tops of the stitches under so that they are hidden at the back.. Now wrap the thread around the button to create spokes. You need at least 6. It helps to mark the positions before hand with an air-soluble fabric-marker pen. Begin with the working thread at the back of the button, bring it down and around back to the top. As you bring the thread down again take it to the second position in the same way that we wrapped the pins on the loom. At first it looks very untidy.

When you have made the last wrap, bring the needle up between two pairs of thread, across the centre and down between two more pairs on the other side. Make a second stitch between another pair of spokes. This straightens the spokes. Before continuing, check to make sure the centre of the wheel is central in the button. These two stitches are enough to hold the threads, but you could continue to over sew all the spokes to create a little nipple...

Now we make back stitches to weave around the spokes. Bring the needle up and back stitch over one pair of threads. The needle goes down and forwards under two pairs of thread and then backstitch over one pair...

Repeat this process around the button to the very edge and weave away the thread end.
There are many other techniques for you to investigate if you have a mind to and if so I highly recommend you use a lace netting needle/shuttle. In any case I hope you can already see the similarities emerging between these two crafts.
The Teneriffe instructions begin with the same wrapping technique as the Flower Looms.


This time we secure the loops by chain stitching around the edge. This helps to hold the design on the pins.

We can gather the threads together in any combination that takes our fancy.
Additional rows can be be added creating a grid, and adding further complexity. Now we may make any of the needle lace stitches available to us such as herringbone,


and darning stitches,

to add shape and solidity to the design.


It seemed appropriate to play around with this 'blocking-mat' loom and see if I could create something that drew on all the techniques I have learnt in the process of writing this post.
My final thought is this: in an effort to bring order to the ebullient Victorian world of design did we end up dumbing down the skills that we once had? I don't think it's too late to add back some of these skills and in doing so create something unique to our age. Any thoughts?
Some useful Links:
Gina-B Silkworks UK for supplies and YouTube videos.
Knitting-and.com for Information, links and YouTube videos.
Fastening off...