

As a reminder I've talked about:
- how to Slip-Stich crochet, here
- a mini Slip-Stitch dictionary, here
- how to Slip-stitch in the round, here, with more designs
- a round Slip-stitch rug design, here
- how to make crochet ribbing, here.
What we are going to do is use surface crochet. It feels a bit weird and not intuitive. This is where we need to apply our Slip-stitch knowledge. What we have to remember is that if we work a back-loop-only stitch it leaves behind the front loop creating a little line. But, if we work a front-loop-only stitch you get a different result. This first method is equivalent to making a row of Back-loop stitches. Let's dive in and hopefully you will see what I mean!

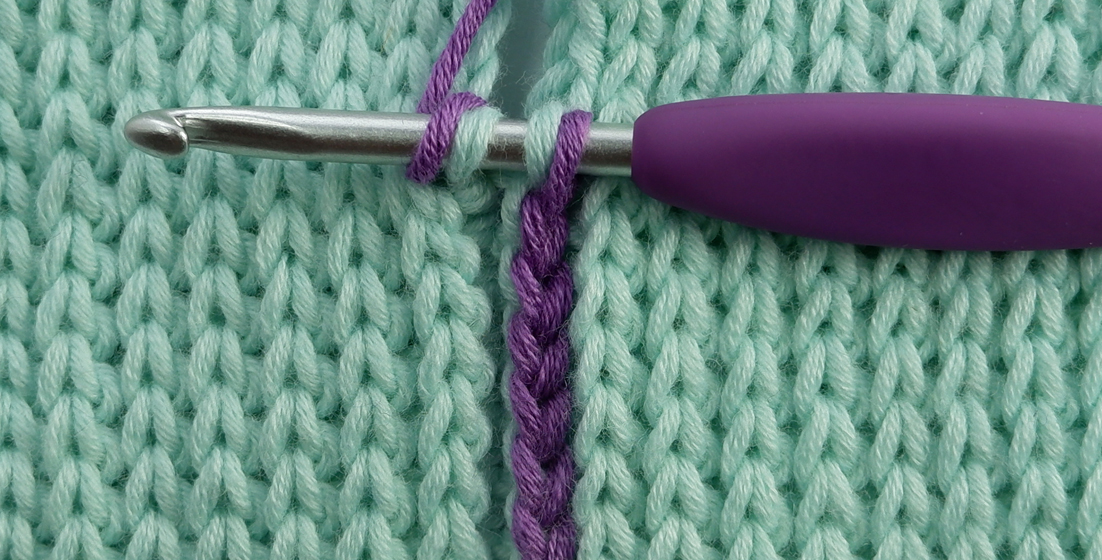
I need you to pretend that my two little swatches here are one whole piece of ribbing, like a cuff perhaps, which we are joining. At the end of the last row I have made one chain because we are about to make a new row. I have joined in a different colour so that you can see exactly what is happening.
As we are making surface crochet, I now need to keep my working yarn to the back and my hook to the front.


Yarn over the hook and pull through all three loops on the hook. That's your first stitch made.

Tah dah!  You now have a pseudo line of rib which joins your work and is invisible to all but you!

The second method is done with a needle, like mattress stitch. It is the equivalent of making a row of Front-loop stitches. Once again I have joined in a different colour and I am beginning with a chain stitch.


Once the chain stitch is made, cut the yarn about twice as long as the seam you are about to join and thread a darning needle.

To begin; push the needle through the end stitch, under the fabric and back out behind the back loop of the first stitch on the right hand side. What you have done is to take the yarn around under that stitch's post. Pull the yarn through.


Take the needle back to the right, down where you came out last, around the stem of the next stitch and back out.

Returning to the left, the needle goes back into the place it came out last, down between the two loops and up between the loops of the next stitch.

The thing to remember is that you go out of and into each stitch.


There must be more joining techniques possible, for more complex Slip-stitch patterns, depending on where you insert the hook/needle. But for today that's all she wrote!
Fastening off...
